Web Chat Widget
Deploying your bot on your site
One script tag puts your bot on your website. This guide covers switching the widget on, copying the snippet, and telling PinoyBot which sites are allowed to use it.
Before you start
- You need the Admin role or higher.
- Somewhere you can paste a line of HTML into your site. If someone else built your website, send them this page.
Switch the widget on
Open Integrations in the sidebar, choose the Web Integration tab. You will see an empty pane.
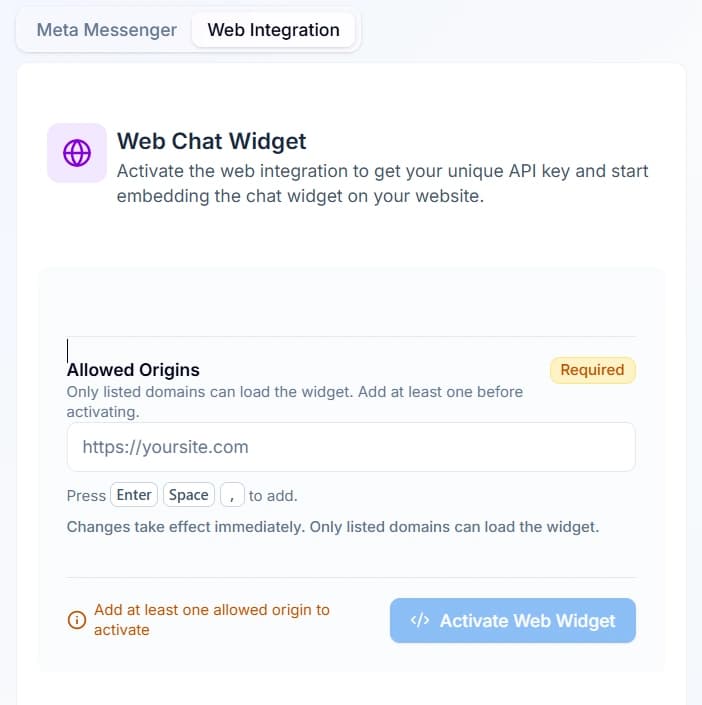
You need to add your domain to have your publishable key generated.
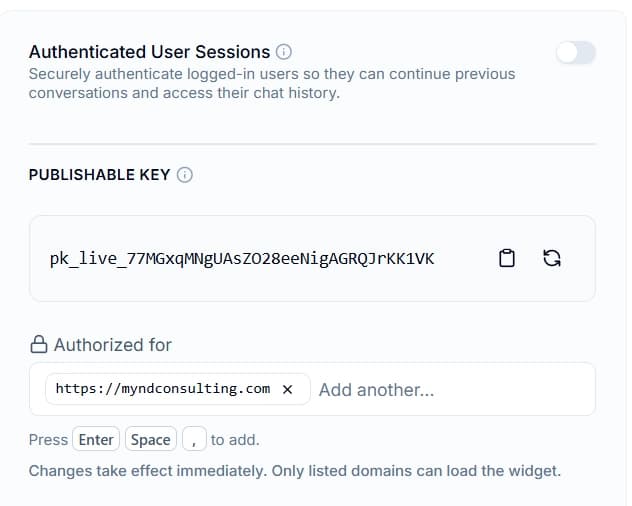
This one is safe to put in your website's code. It is meant to be public.
Copy the snippet
Paste this just before the closing </body> tag on every page you want the widget to appear on.
The snippet looks like this. Your own has your key filled in, so always copy it from the dashboard instead of typing it, and use this one only as a guide.
<script
  src="https://your-pinoybot-address/widget.js"
  data-api-key="YOUR_PUBLISHABLE_KEY"
></script>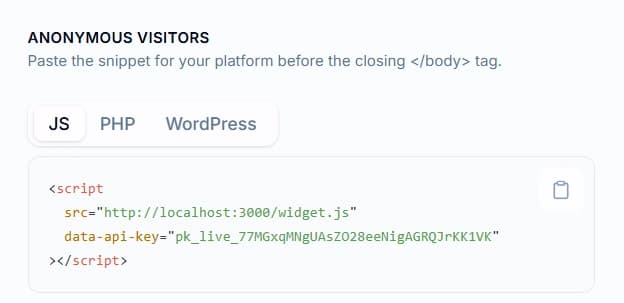
Widget not showing up? Check this list first.
A missing origin is the most common reason the widget stays invisible. yoursite.com and www.yoursite.com count as two different addresses, so add both.
Make it look like yours
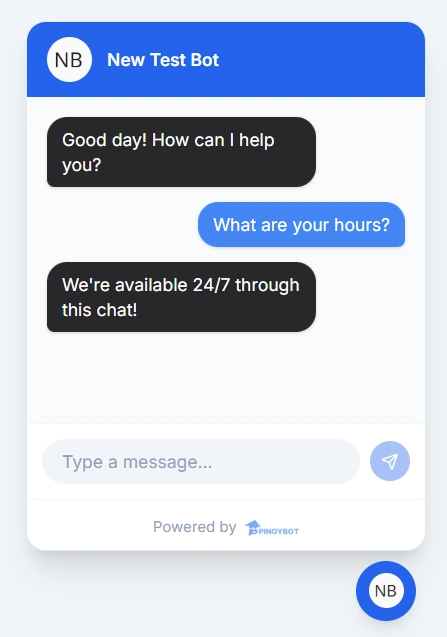
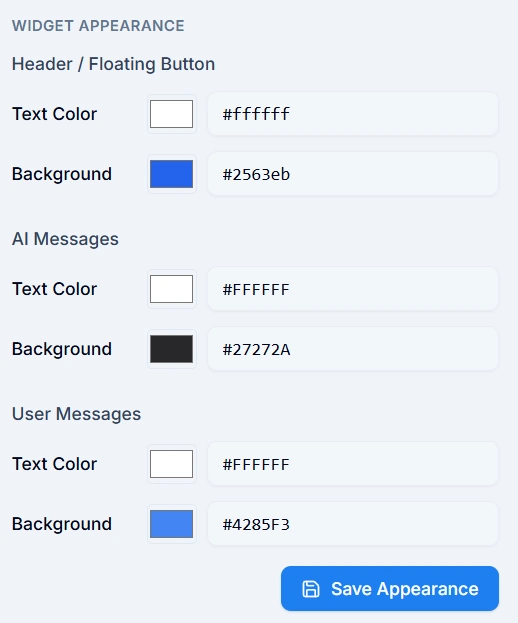
On the same tab you can set the widget's name, its greeting, and the colours of the header and the message bubbles. Changes are live as soon as you save, with no need to touch the snippet again.
If your customers log in
This part needs a developer
If your site has customer accounts, turn on Authenticated User Sessions so the bot knows who it is talking to. Your developer signs each user's ID with a secret key on your server. Unlike the publishable key, that secret never goes in your website's code.
Did this fix it?
If your bot still gives the wrong answer, tell us what happened. You do not need to be signed in.